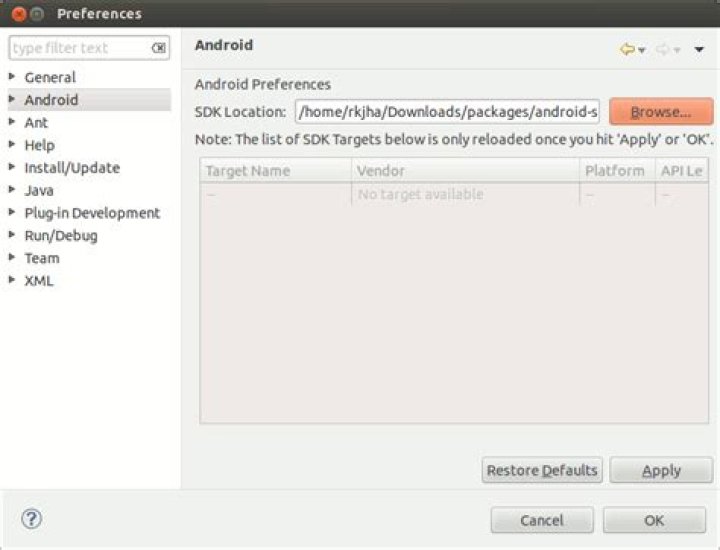
For my Ubuntu machine, I downloaded the latest version of Android SDK from this page.
After extracting the downloaded .tgz file, I was trying to search for installation instructions and found:
To get started on Linux:
Unpack the .zip file you've downloaded. The SDK files are download separately to a user-specified directory.
Make a note of the name and location of the SDK directory on your system—you will need to refer to the SDK directory later when using the SDK tools from the command line.
What exactly are we supposed to do?
68 Answers
Option 1:
sudo apt update && sudo apt install android-sdk The location of Android SDK on Linux can be any of the following:
/home/AccountName/Android/Sdk/usr/lib/android-sdk/Library/Android/sdk//Users/[USER]/Library/Android/sdk
Option 2:
Download the Android Studio.
Extract downloaded
.zipfile.The extracted folder name will read somewhat like android-studio
To keep navigation easy, move this folder to Home directory.
After moving, copy the moved folder by right clicking it. This action will place folder's location to clipboard.
Use Ctrl Alt T to open a terminal
Go to this folder's directory using
cd /home/(USER NAME)/android-studio/bin/Type this command to make
studio.shexecutable:chmod +x studio.shType
./studio.sh
A pop up will be shown asking for installation settings. In my particular case, it is a fresh install so I'll go with selecting I do not have a previous version of Studio or I do not want to import my settings.
If you choose to import settings anyway, you may need to close any old project which is opened in order to get a working Android SDK.

From now onwards, setup wizard will guide you.
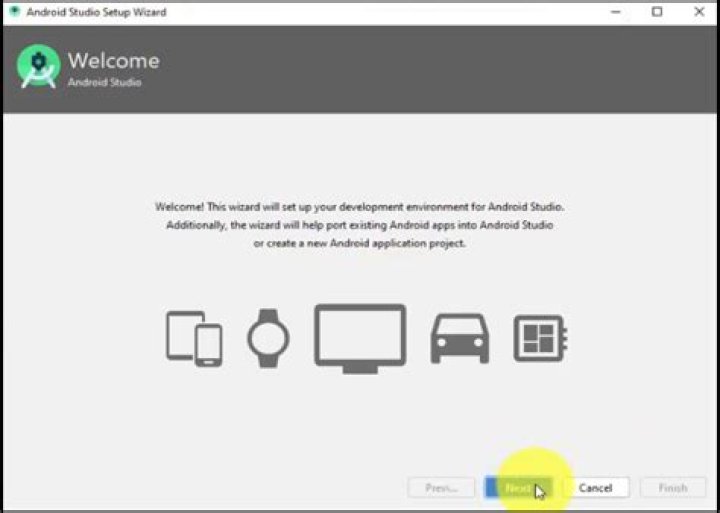
Android Studio can work with both Open JDK and Oracle's JDK (recommended). Incase, Open JDK is installed the wizard will recommend installing Oracle Java JDK because some UI and performance issues are reported while using OpenJDK.
The downside with Oracle's JDK is that it won't update with the rest of your system like OpenJDK will.
The wizard may also prompt about the input problems with IDEA .
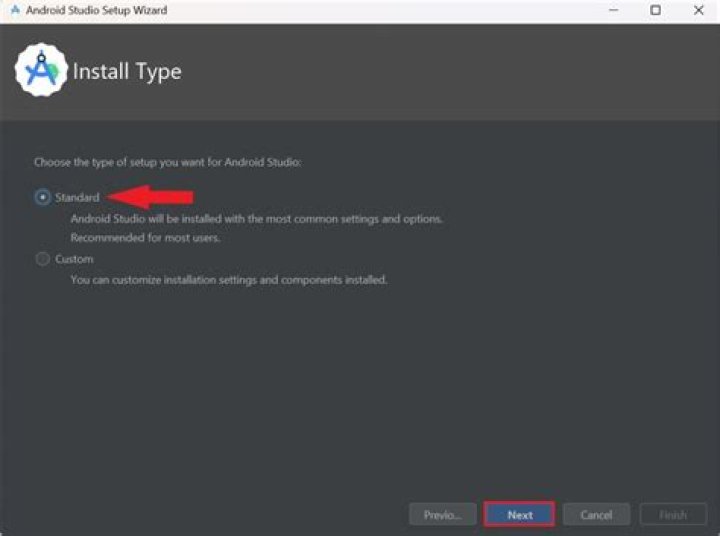
Select install type
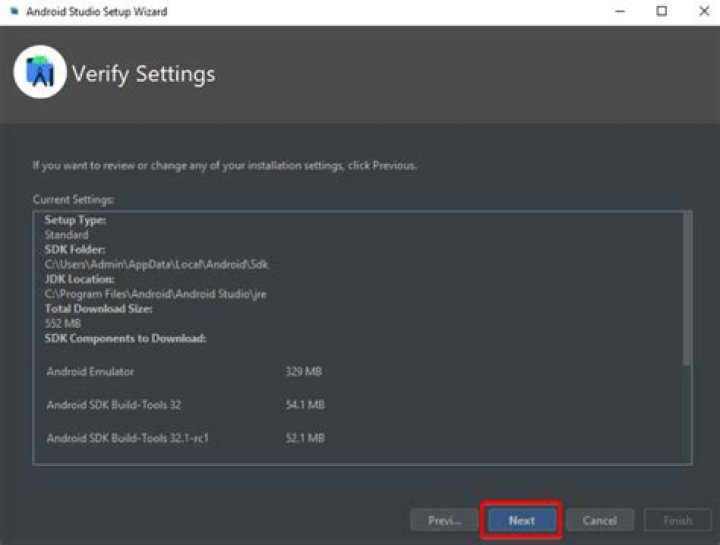
Verify installation settings
An emulator can also be configured as needed.

The wizard will start downloading the necessary SDK tools
The wizard may also show an error about Linux 32 Bit Libraries, which can be solved by using the below command:
sudo apt-get install libc6:i386 libncurses5:i386 libstdc++6:i386 lib32z1
After this, all the required components will be downloaded and installed automatically.
After everything is upto the mark, just click finish
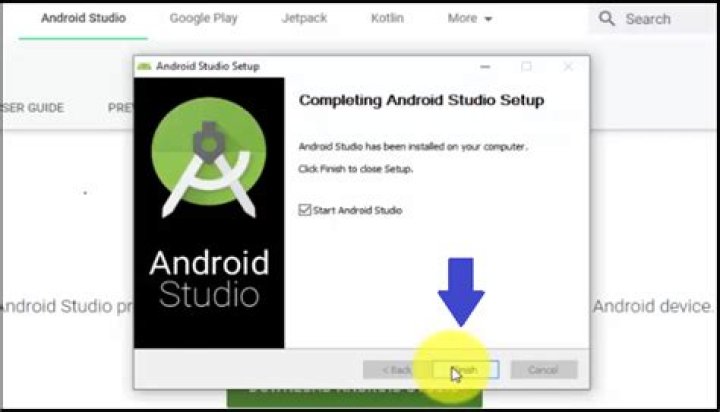
To make a Desktop icon, go to 'Configure' and then click 'Create Desktop Entry'

To install it on a Debian based system simply do
# Install latest JDK sudo apt install default-jdk # install unzip if not installed yet sudo apt install unzip # get latest sdk tools - link will change. go to to get the latest one cd ~ wget # unpack archive unzip sdk-tools-linux-4333796.zip rm sdk-tools-linux-4333796.zip mkdir android-sdk mv tools android-sdk/tools Then add the Android SDK to your PATH, open ~/.bashrc in editor and add the following lines into the file
# Export the Android SDK path export ANDROID_HOME=$HOME/android-sdk export PATH=$PATH:$ANDROID_HOME/tools/bin export PATH=$PATH:$ANDROID_HOME/platform-tools # Fixes sdkmanager error with java versions higher than java 8 export JAVA_OPTS='-XX:+IgnoreUnrecognizedVMOptions --add-modules java.se.ee' Run
source ~/.bashrc Show all available sdk packages
sdkmanager --list Identify latest android platform (here it's 28) and run
sdkmanager "platform-tools" "platforms;android-28" Now you have adb, fastboot and the latest sdk tools installed
6There is no need to download any binaries or files or follow difficult installation instructions.
All you really needed to do is:
sudo apt update && sudo apt install android-sdk Update: Ubuntu 18.04 only
8
sudo snap install androidsdk Usage
You can use the sdkmanager to perform the following tasks.
List installed and available packages
androidsdk --list [options] Install packages
androidsdk packages [options] The packages argument is an SDK-style path as shown with the --list command, wrapped in quotes (for example, "build-tools;29.0.0" or "platforms;android-28"). You can pass multiple package paths, separated with a space, but they must each be wrapped in their own set of quotes.
For example, here's how to install the latest platform tools (which includes adb and fastboot) and the SDK tools for API level 28:
androidsdk "platform-tools" "platforms;android-28" Alternatively, you can pass a text file that specifies all packages:
androidsdk --package_file=package_file [options] The package_file argument is the location of a text file in which each line is an SDK-style path of a package to install (without quotes).
To uninstall, simply add the --uninstall flag:
androidsdk --uninstall packages [options] androidsdk --uninstall --package_file=package_file [options] Update all installed packages
androidsdk --update [options] Note
androidsdk it is snap wraper of sdkmanager all options of sdkmanager work with androidsdk
Location of installed android sdk files : /home/user/AndroidSDK
See all sdkmanager options in google documentation
1I can tell you the steps for installing purely via command line from scratch. I tested it on Ubuntu on 22 Feb 2021.
create sdk folder
export ANDROID_SDK_ROOT=/usr/lib/android-sdk sudo mkdir -p $ANDROID_SDK_ROOT install openjdk
sudo apt-get install openjdk-8-jdk download android sdk
Go to Then down to Command line tools only Click on Linux link, accept the agreement and instead of downloading right click and copy link address
cd $ANDROID_SDK_ROOT sudo wget sudo unzip commandlinetools-linux-6858069_latest.zip move folders
Rename the unpacked directory from cmdline-tools to tools, and place it under $ANDROID_SDK_ROOT/cmdline-tools, so now it should look like: $ANDROID_SDK_ROOT/cmdline-tools/tools. And inside it, you should have: NOTICE.txt bin lib source.properties.
set path
PATH=$PATH:$ANDROID_SDK_ROOT/cmdline-tools/latest/bin:$ANDROID_SDK_ROOT/cmdline-tools/tools/bin This had no effect for me, hence the next step
browse to sdkmanager
cd $ANDROID_SDK_ROOT/cmdline-tools/tools/bin accept licenses
yes | sudo sdkmanager --licenses create build
Finally, run this inside your project
chmod 777 gradlew sudo ./gradlew assembleDebug This creates an APK named -debug.apk at //build/outputs/apk/debug The file is already signed with the debug key and aligned with zipalign, so you can immediately install it on a device.
REFERENCES
Android Command line tools sdkmanager always shows: Warning: Could not create settings
"Failed to install the following Android SDK packages as some licences have not been accepted" error
1If you are on Ubuntu 17.04 (Zesty), and you literally just need the SDK (no Android Studio), you can install it like on Debian:
- sudo apt install android-sdk android-sdk-platform-23
- export ANDROID_HOME=/usr/lib/android-sdk
- In
build.gradle, changecompileSdkVersionto23andbuildToolsVersionto24.0.0 - run
gradle build
install the android SDK for me was not the problem, having the right JRE and JDK was the problem.
To solve this install the JVM 8 (the last fully compatible, for now):
sudo apt-get install openjdk-8-jre Next use update-alternative to switch to the jre-8 version:
sudo update-alternatives --config java You can revert JVM version when you want with the same update-alternatives command
Note that you problably have to do the same after this with javac also (now you have only java command at version 8)
first do:
sudo apt-get install openjdk-8-jdk next:
sudo update-alternatives --config javac After this you can install android SDK that require this specific Java version
sudo add-apt-repository -y ppa:webupd8team/java sudo apt-get update sudo apt-get install oracle-java7-installer oracle-java7-set-default wget unzip android-studio-ide-145.3276617-linux.zip cd android-studio/bin ./studio.sh