I would like to use an IPython notebook as a way to interactively analyze some genome charts I am making with Biopython's GenomeDiagram module. While there is extensive documentation on how to use matplotlib to get graphs inline in IPython notebook, GenomeDiagram uses the ReportLab toolkit which I don't think is supported for inline graphing in IPython.
I was thinking, however, that a way around this would be to write out the plot/genome diagram to a file and then open the image inline which would have the same result with something like this:
gd_diagram.write("test.png", "PNG") display(file="test.png") However, I can't figure out how to do this - or know if it's possible. So does anyone know if images can be opened/displayed in IPython?
15 Answers
Courtesy of this post, you can do the following:
from IPython.display import Image Image(filename='test.png') If you are trying to display an Image in this way inside a loop, then you need to wrap the Image constructor in a display method.
from IPython.display import Image, display listOfImageNames = ['/path/to/images/1.png', '/path/to/images/2.png'] for imageName in listOfImageNames: display(Image(filename=imageName)) Note, until now posted solutions only work for png and jpg!
If you want it even easier without importing further libraries or you want to display an animated or not animated GIF File in your Ipython Notebook. Transform the line where you want to display it to markdown and use this nice short hack!
 This will import and display a .jpg image in Jupyter (tested with Python 2.7 in Anaconda environment)
from IPython.display import display from PIL import Image path="/path/to/image.jpg" display(Image.open(path)) You may need to install PIL
in Anaconda this is done by typing
conda install pillow If you want to efficiently display big number of images I recommend using IPyPlot package
import ipyplot ipyplot.plot_images(images_array, max_images=20, img_width=150) 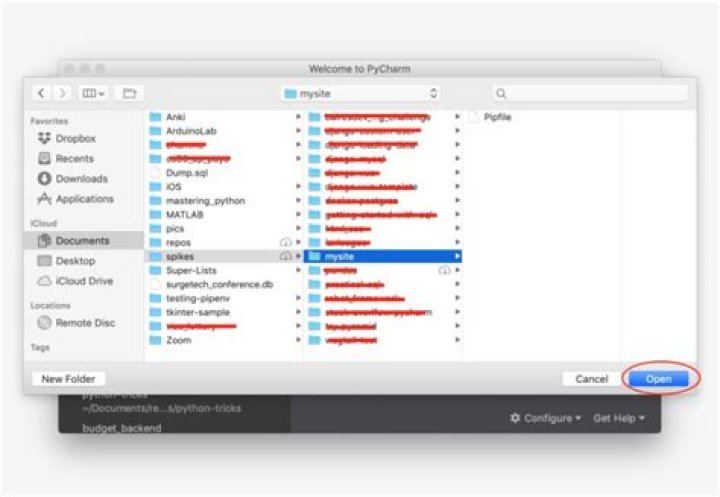
There are some other useful functions in that package where you can display images in interactive tabs (separate tab for each label/class) which is very helpful for all the ML classification tasks.
You could use in html code in markdown section: example:
<img src="" /> Courtesy of this page, I found this worked when the suggestions above didn't:
import PIL.Image from cStringIO import StringIO import IPython.display import numpy as np def showarray(a, fmt='png'): a = np.uint8(a) f = StringIO() PIL.Image.fromarray(a).save(f, fmt) IPython.display.display(IPython.display.Image(data=f.getvalue())) A cleaner Python3 version that use standard numpy, matplotlib and PIL. Merging the answer for opening from URL.
import matplotlib.pyplot as plt from PIL import Image import numpy as np pil_im = Image.open('image.png') #Take jpg + png ## Uncomment to open from URL #import requests #r = requests.get(') #pil_im = Image.open(BytesIO(r.content)) im_array = np.asarray(pil_im) plt.imshow(im_array) plt.show() from IPython.display import Image Image(filename =r'C:\user\path') I've seen some solutions and some wont work because of the raw directory, when adding codes like the one above, just remember to add 'r' before the directory. this should avoid this kind of error: (unicode error) 'unicodeescape' codec can't decode bytes in position 2-3: truncated \UXXXXXXXX escape
If you are looking to embed your image into ipython notebook from the local host, you can do the following:
First: find the current local path:
# show current directory import os cwd = os.getcwd() cwd The result for example would be:
'C:\\Users\\lenovo\\Tutorials' Next, embed your image as follows:
from IPython.display import display from PIL import Image path="C:\\Users\\lenovo\\Tutorials\\Data_Science\\DS images\\your_image.jpeg" display(Image.open(path)) Make sure that you choose the right image type among jpg, jpeg or png.
Another option for plotting inline from an array of images could be:
import IPython def showimg(a): IPython.display.display(PIL.Image.fromarray(a)) where a is an array
a.shape (720, 1280, 3) Another opt is:
from matplotlib import pyplot as plt from io import BytesIO from PIL import Image import Ipython f = BytesIO() plt.savefig(f, format='png') Ipython.display.display(Ipython.display.Image(data=f.getvalue())) f.close() When using GenomeDiagram with Jupyter (iPython), the easiest way to display images is by converting the GenomeDiagram to a PNG image. This can be wrapped using an IPython.display.Image object to make it display in the notebook.
from Bio.Graphics import GenomeDiagram from Bio.SeqFeature import SeqFeature, FeatureLocation from IPython.display import display, Image gd_diagram = GenomeDiagram.Diagram("Test diagram") gd_track_for_features = gd_diagram.new_track(1, name="Annotated Features") gd_feature_set = gd_track_for_features.new_set() gd_feature_set.add_feature(SeqFeature(FeatureLocation(25, 75), strand=+1)) gd_diagram.draw(format="linear", orientation="landscape", pagesize='A4', fragments=1, start=0, end=100) Image(gd_diagram.write_to_string("PNG")) You can directly use this instead of importing PIL
from IPython.display import Image, display display(Image(base_image_path)) This is the solution using opencv-python, but it opens new windows which is busy in waiting
import cv2 # pip install opencv-python image = cv2.imread("foo.png") cv2.imshow('test',image) cv2.waitKey(duration) # in milliseconds; duration=0 means waiting forever cv2.destroyAllWindows() if you don't want to display image in another window, using matplotlib or whatever instead cv2.imshow()
import cv2 import matplotlib.pyplot as plt image = cv2.imread("foo.png") plt.imshow(cv2.cvtColor(img, cv2.COLOR_BGR2RGB)) plt.show()